The new Lightroom CC version which got released last week came with some new useful features. Panorama stitching can now be done inside lightroom itself, without exporting photos to Photoshop. I am not a frequent panorama shooter, but I feel the new feature comes in handy to create quick panoramas.

Landscape of Thattekad Bird Sanctuary
These are complete steps I followed to create the above panorama in Lightroom CC, so that it can be useful for those who are new to creating panoramas.
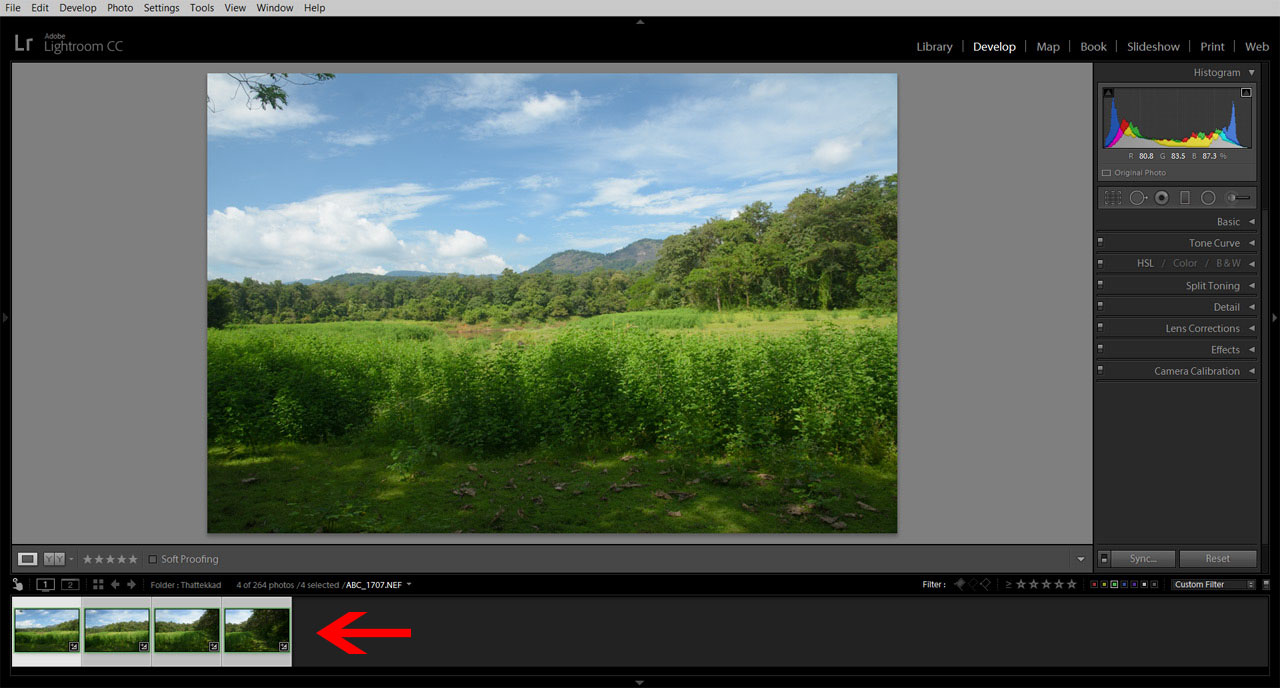
First, I selected the four individual photos to merge, gave a ‘Green’ color rating, and filtered it. Just to avoid messing with other photos in the folder. Then select all the photos by pressing ‘Ctrl A’. Photos are arranged in order from left to right as it needs to be in the final picture. All pictures were shot handheld using Nikon D7100 with 16-85mm f/3.5-5.6 DX lens.
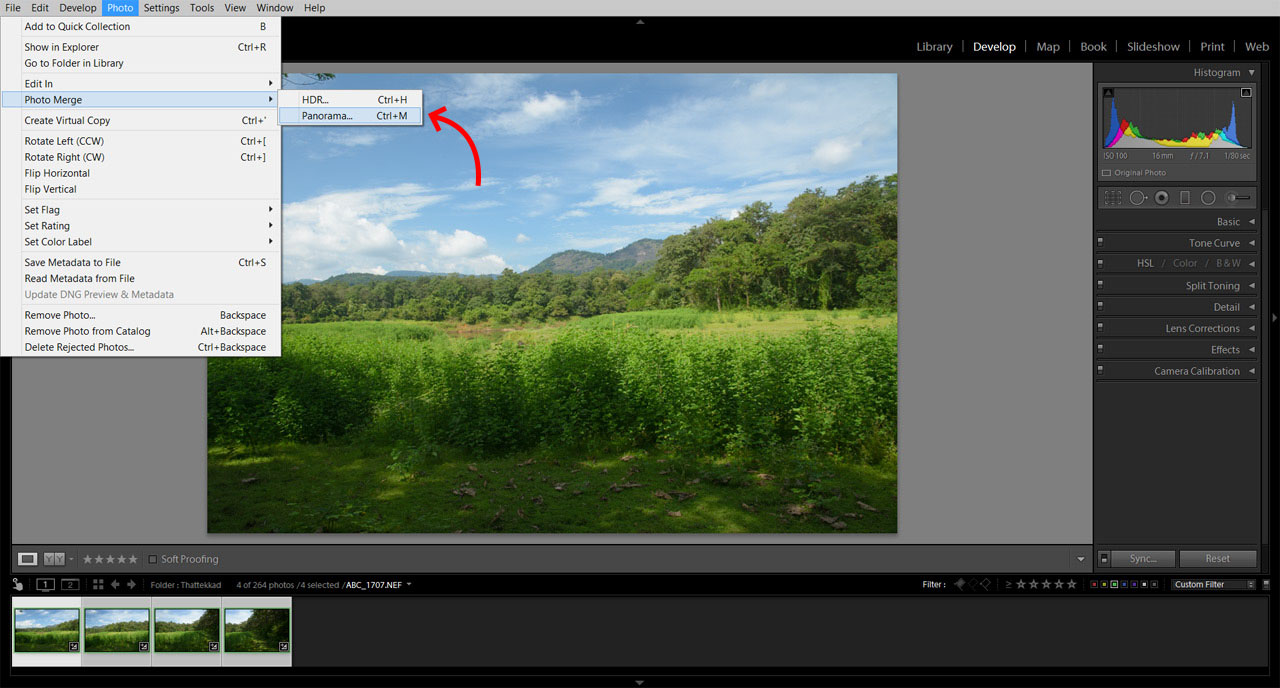
Now go to Photomerge > Panorama under Photos menu (or use the shortcut Ctrl M). It is the new option, which was not there in earlier versions.

Now a new window opened showing a preview of the panorama. Then checked both the options ‘Auto select projection’ and ‘Auto Crop’, to see how it looks.
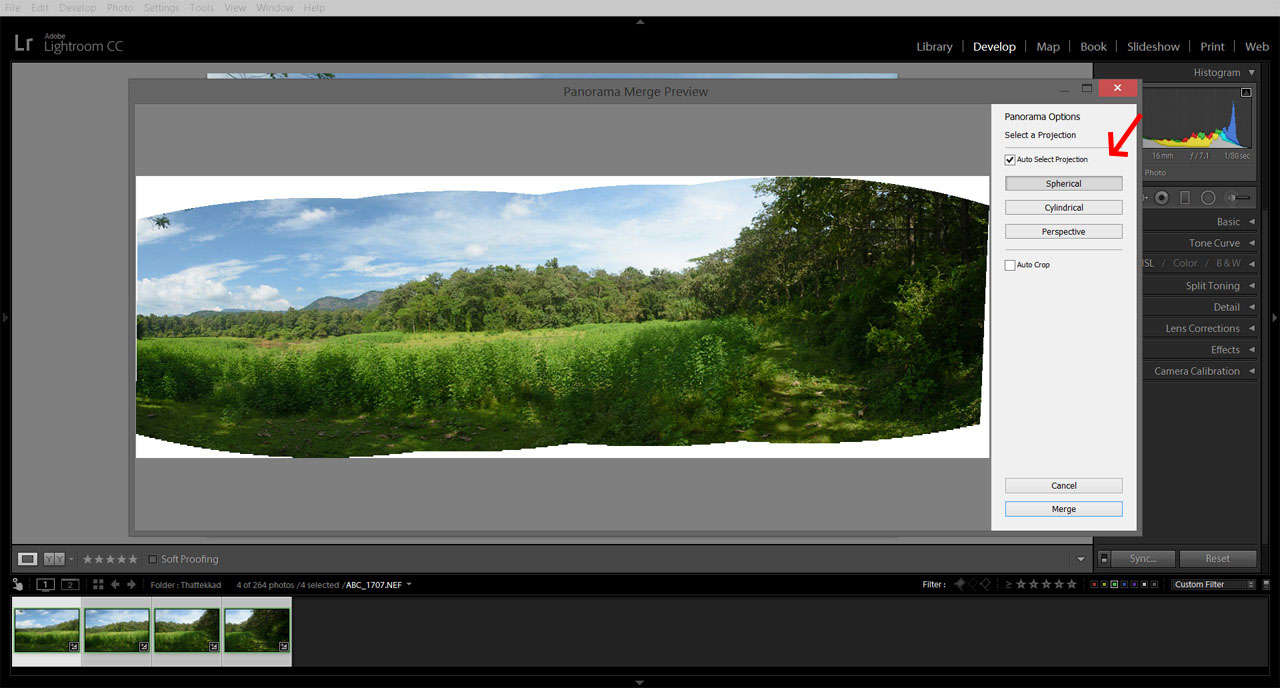
Since the photo looked a little tilted, I choose to uncheck the ‘Auto Crop’ option, as I could do it later manually. And kept the ‘Auto select projection’ checked so that lightroom could select the appropriate one. So far, happy with the results, so clicked ‘Merge’ button.
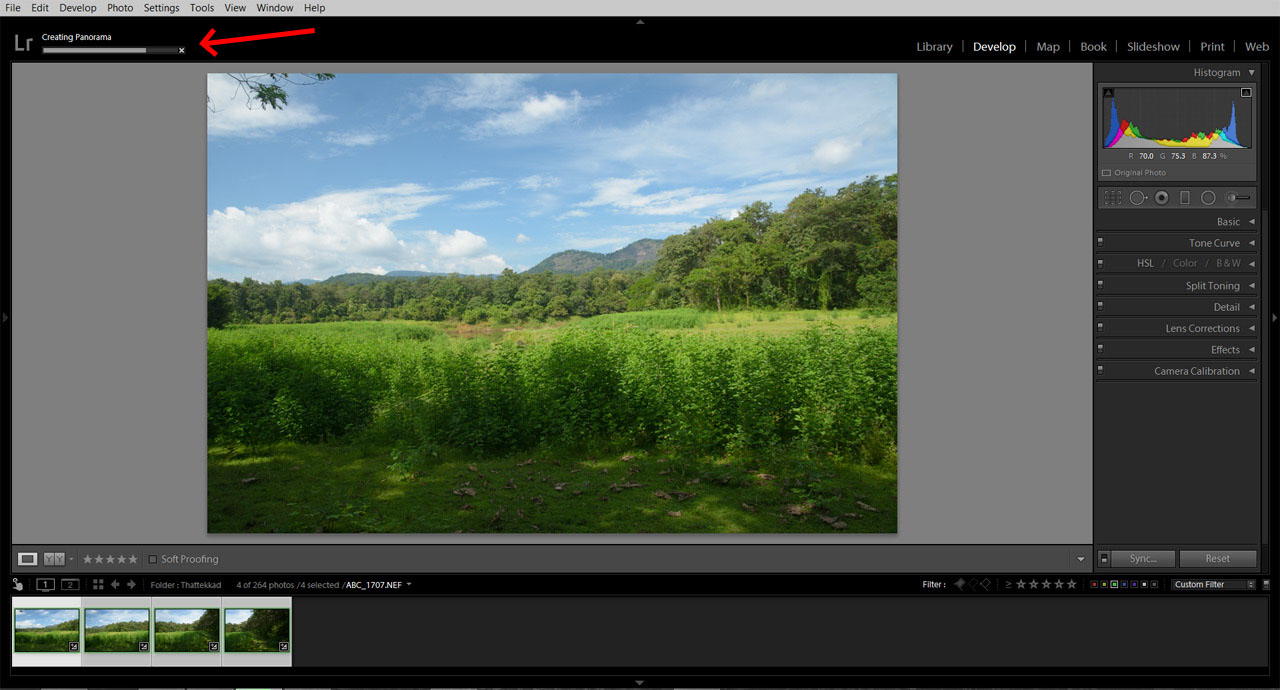
Progress bar showed ‘Creating Panorama’. It took a few second to complete.
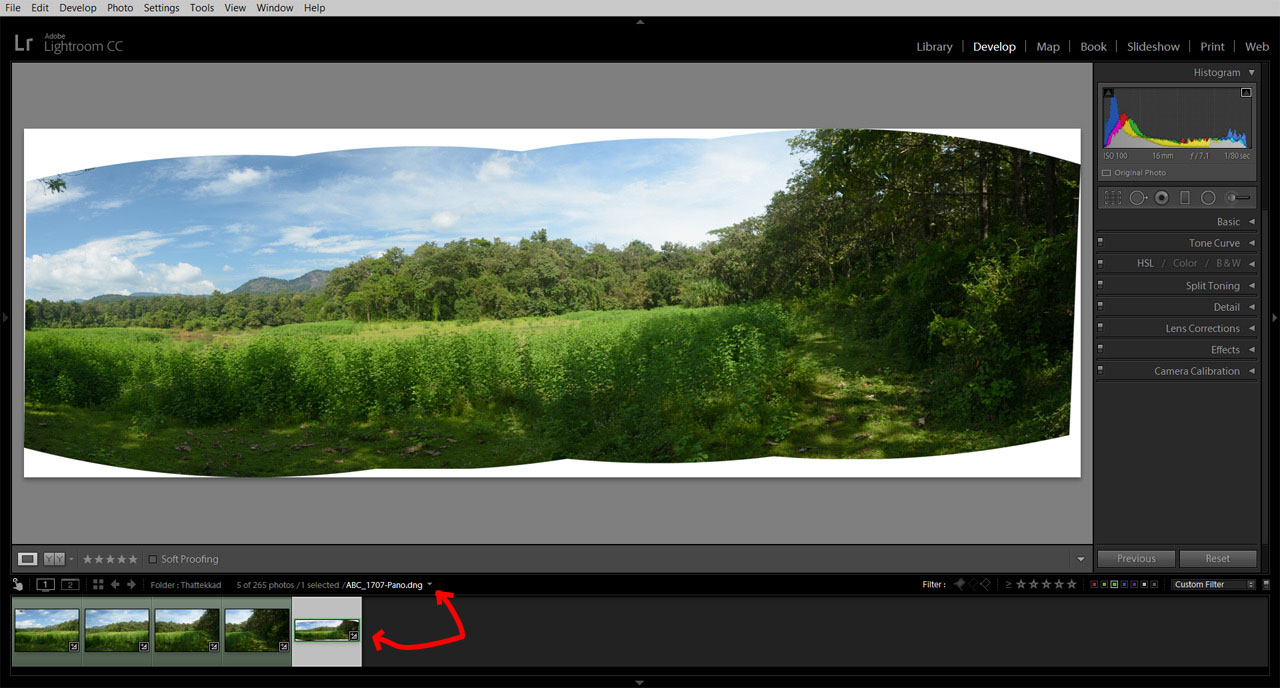
The panorama got stitched, and appeared back in the catalog. Lightroom saved it as a DNG file. That is good since it saves a lot of space compared to TIFF.
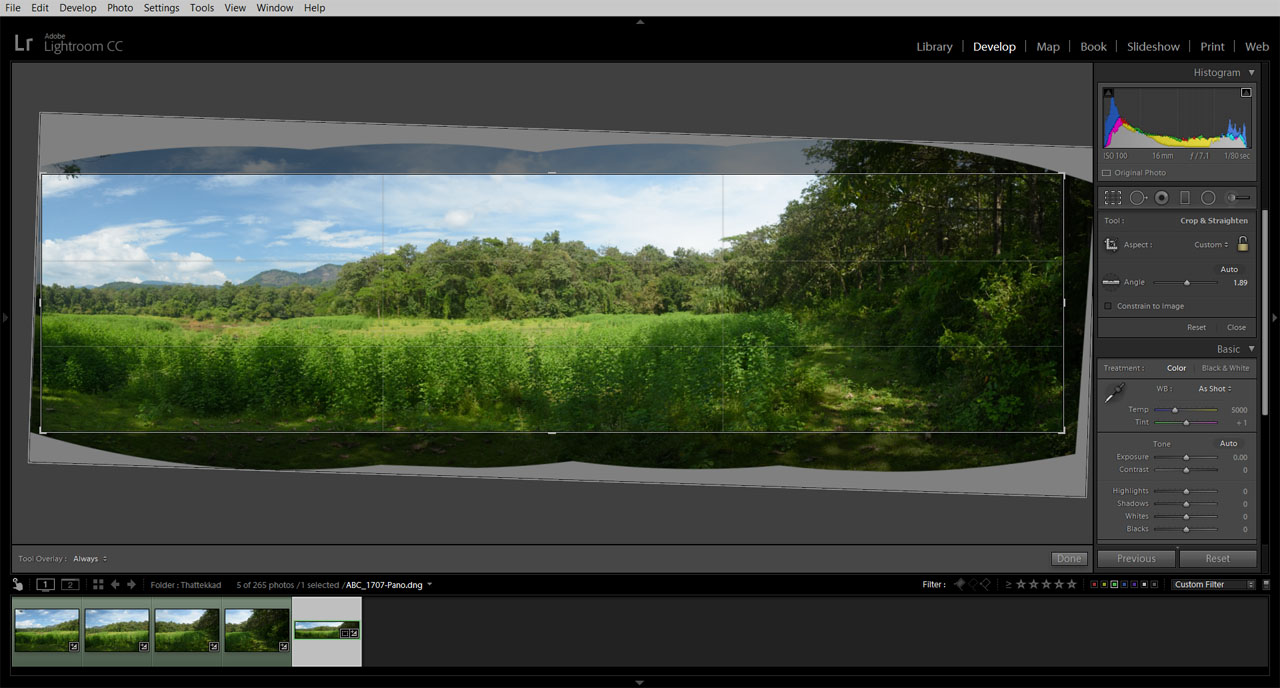
Then rotated and cropped, which was skipped earlier.
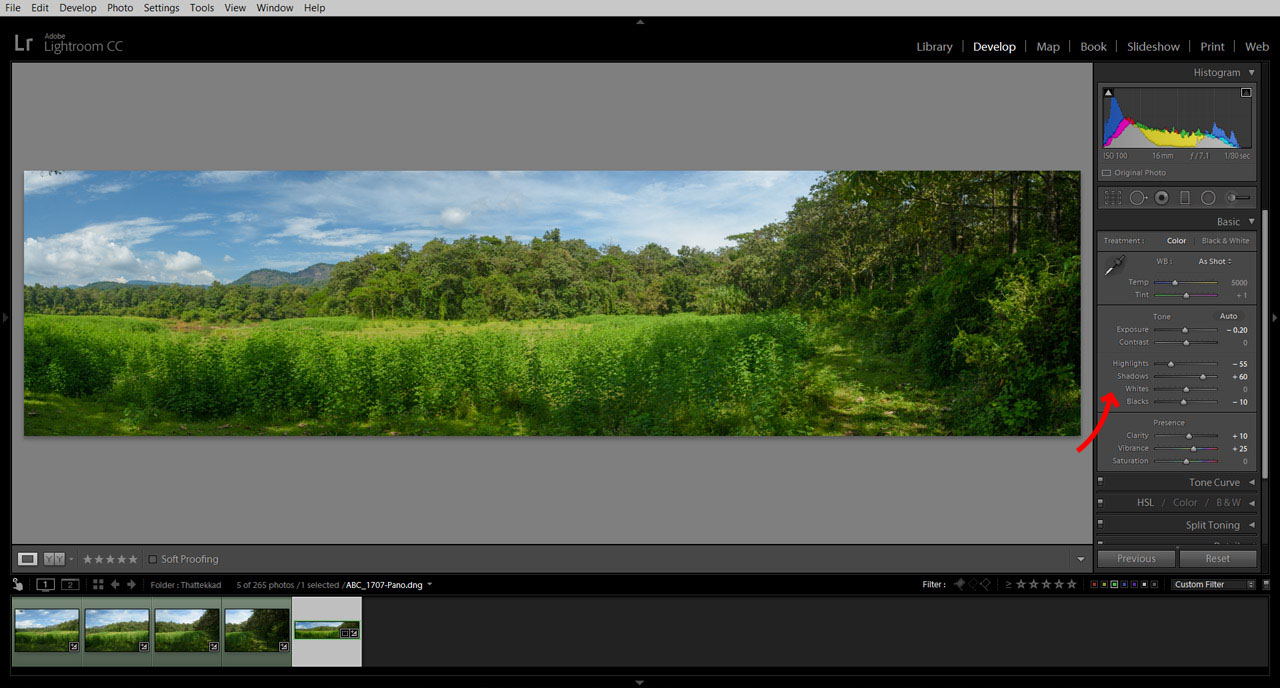
Finally a few slider adjustments to get shadows and highlights, and to give the panorama its final look.
Hope you liked. Thank you.

